Whenever I am stuck on a project I like to KISS (keep it simple stupid). I make something I have made before and know I can do. It helps me keep moving. Recently this meant going back to tea light holders. Tea lights are small candles held in metal or polycarbonate cups, allowing them to liquefy when lit. They are used for lighting as well as warming food and drink, such as, perhaps not surprisingly, tea, including their use during chanoyu, the traditional Japanese tea ceremony.
They are extremely easy to make, and with minimal tools and fuss there are limitless designs to play with.
All you really need is:
Some way to cut a hole that is roughly 1.5 inches in diameter in a piece of wood.
Said wood.
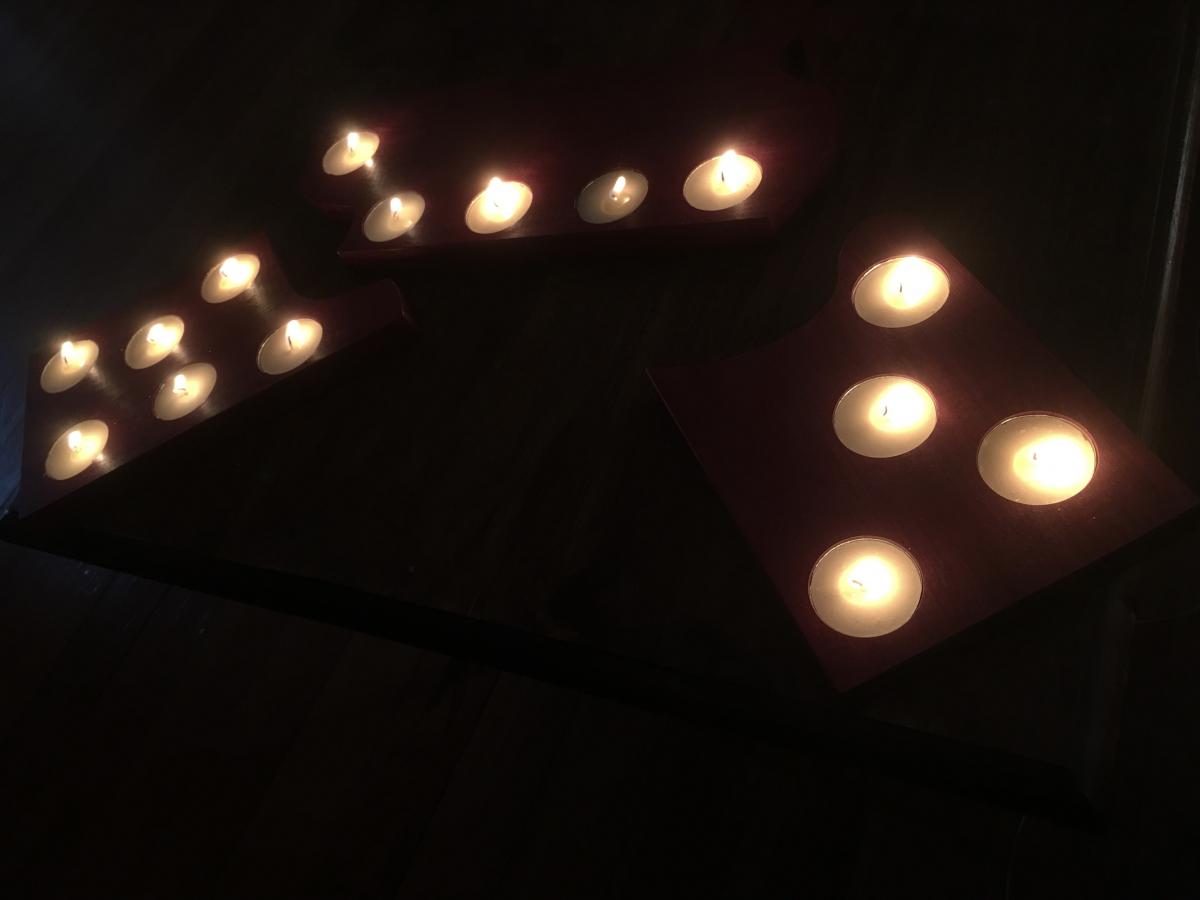
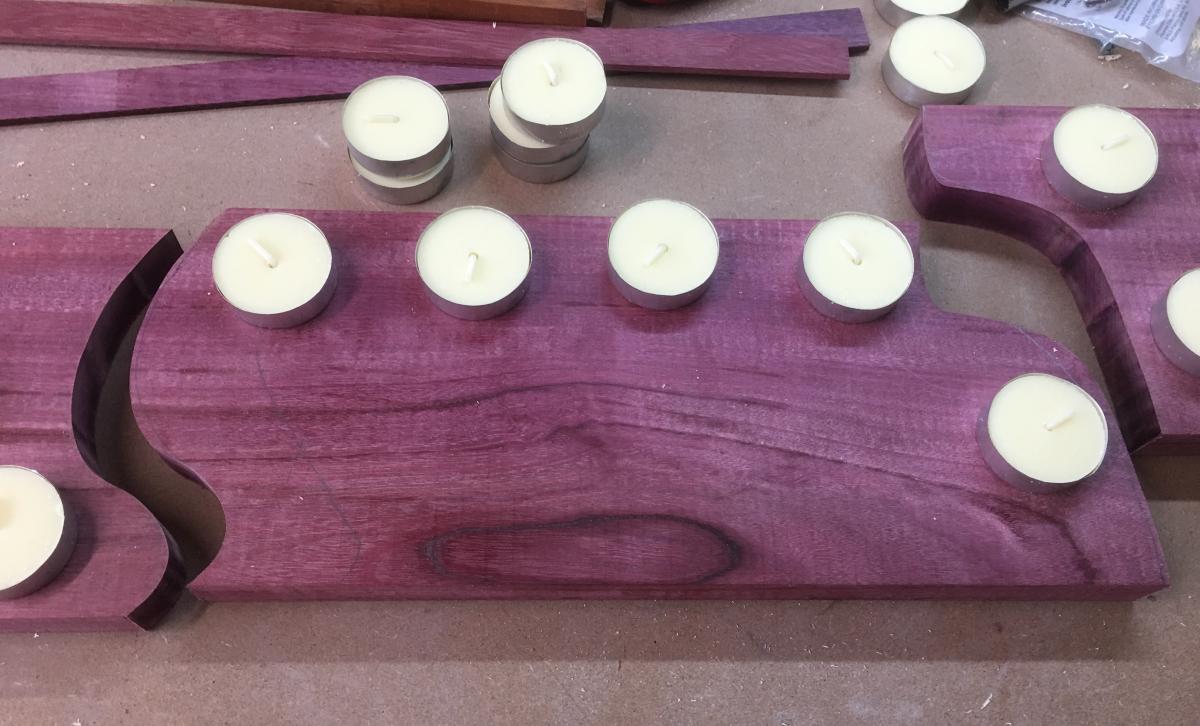
Really, that’s it. I also like them because they can be great opportunities to practice a number of different skills and techniques, new products and finishes. The first tea light holder I made was for my sister-in-law in Australia. I had a really nice plank of purpleheart wood that she saw and liked, and asked me to make something with it. She enjoys tea lights so it was an easy decision. Because I had just purchased my very first scroll saw, I decided to do a simple design cutting the plank into three pieces that could all hold candles, and could be used together or apart. I decided on the rough design, made two cuts on the scroll saw, and used a drill press with a forstner bit to cut out holes for the lights. She was going to use it indoors, so I decided to make the depth of the holes flush with the height of the lights. I was pretty happy with how it turned out.
Spacing out where I wanted the lights to go.
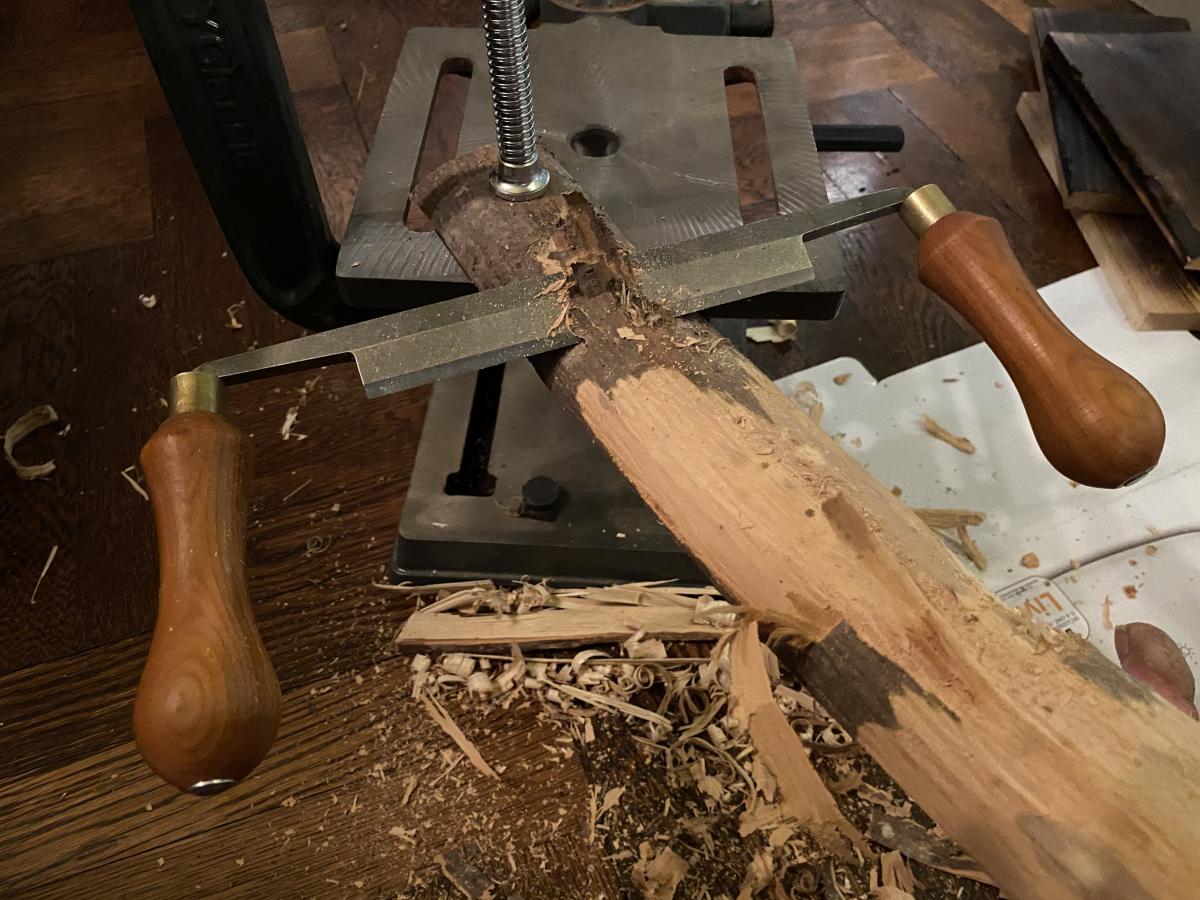
This week I grabbed the first piece of scrap I could find to make a tea light holder. I wanted to be more natural looking than polished, so I started by using a drawknife to clean up the wood and remove the bark. I liked the look of the grain and so I decided to use the inside of the piece as the visible candle holding surface. You could also use the exterior of a branch, the candles look lovely sitting in the curve of the branch.
For pandemic context, I am sitting on the floor of my dining room with a c-clamp holding the wood onto my benchtop drill press, which I had to anchor with my feet when pulling the drawknife. Never a dull moment in New York City woodworking.
I started with a spokeshave to clean up the wood, but was not getting a good cut and switched to the drawknife, an indispensable tool. Mine is a Ray Iles Gent’s drawknife, which I love because of the angle of the handles. Makes it very easy and smooth to use. When using a drawknife, you can cut with the bevel up or down, allowing you to take off a lot of material at once, or to get finer more controlled cuts. A versatile tool to be sure!
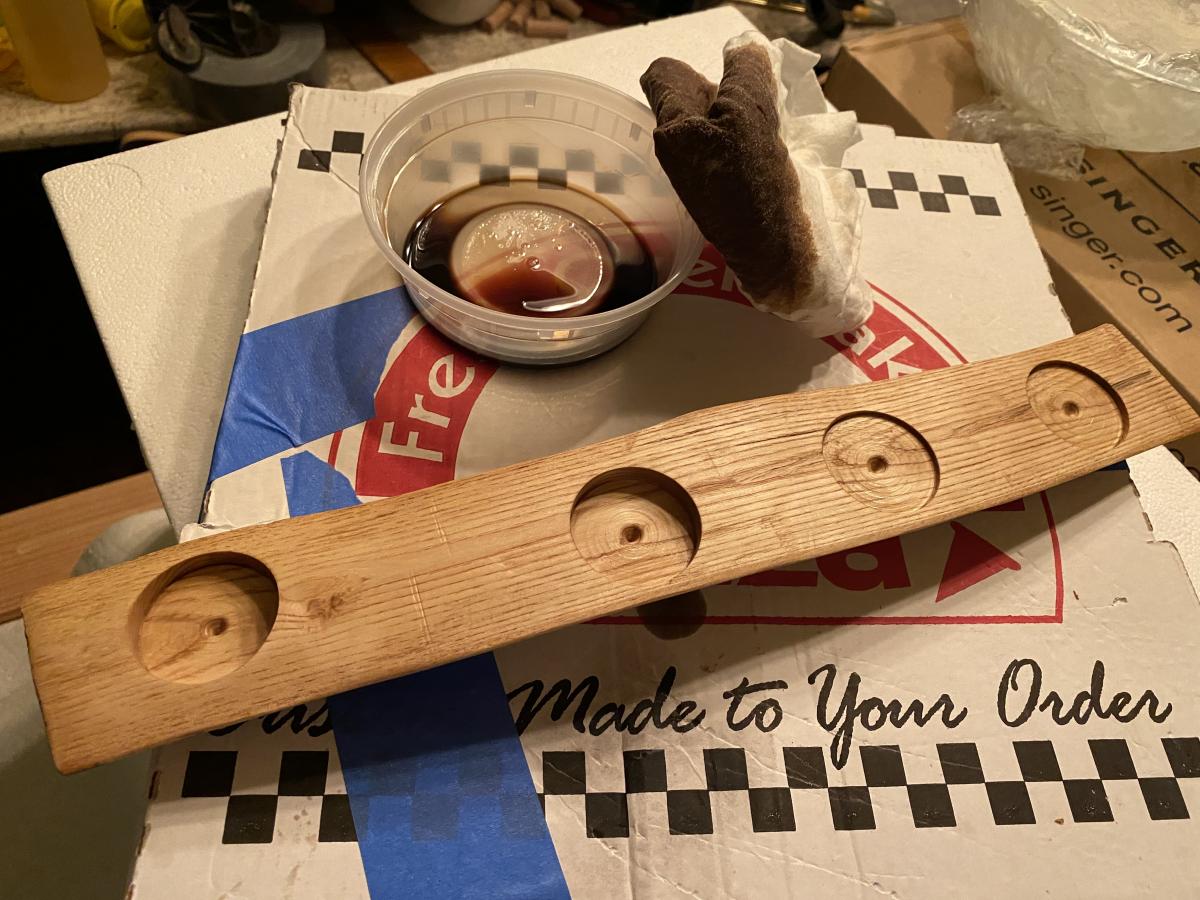
I cleaned up both sides of the wood, not worrying about getting out all the cut marks, as I wanted a rustic look. When I had it how I liked it, I drilled 4 holes to hold the candles. One end of the wood was much thinner than the other, so I used that and made 4 holes of increasing depth. I spaced them asymmetrically, but in retrospect would have put them more in a clean line, which would highlight the different depths. Live and learn.
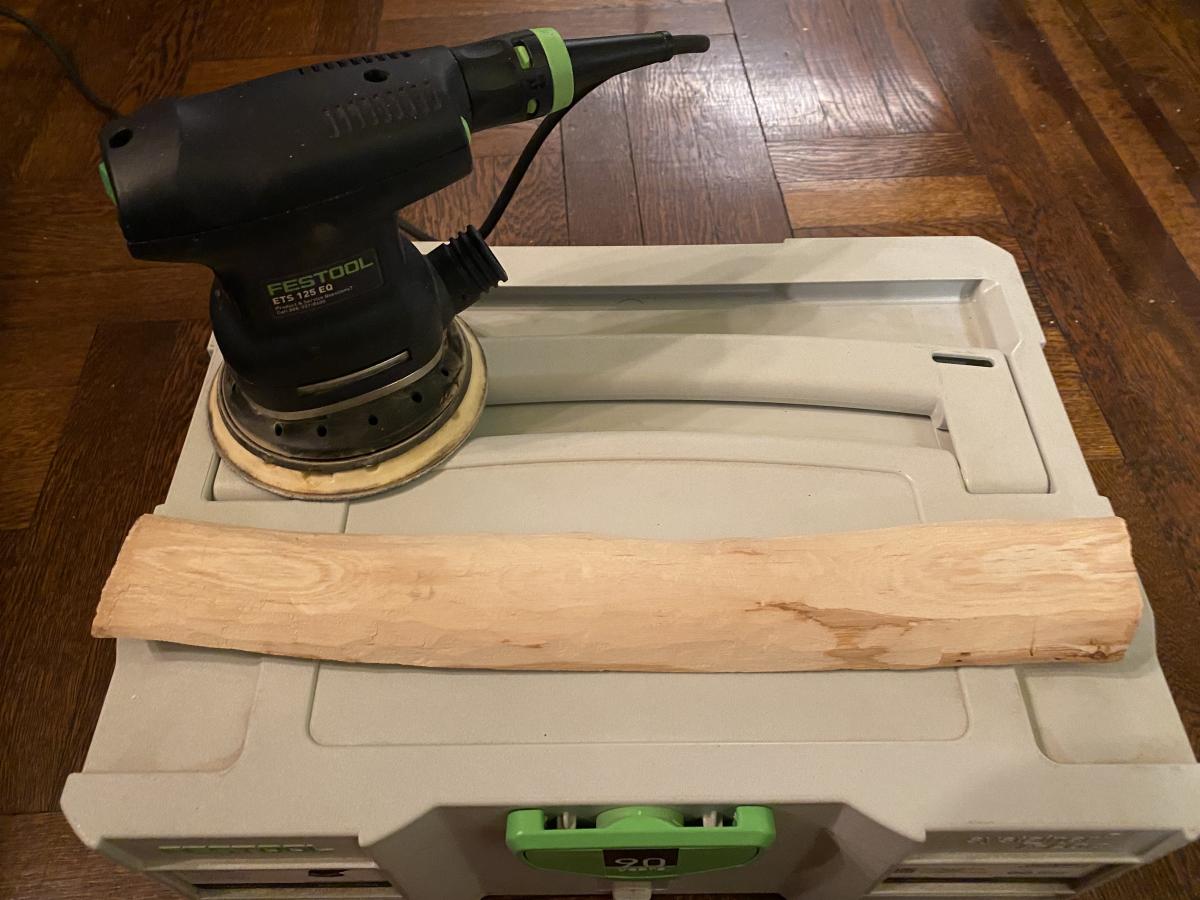
After I cut the holes I sanded the piece to 220 grit with an orbital sander. I wanted to smooth it overall and break the edges so they were not so sharp, but I didn’t want to remove all the tool marks.
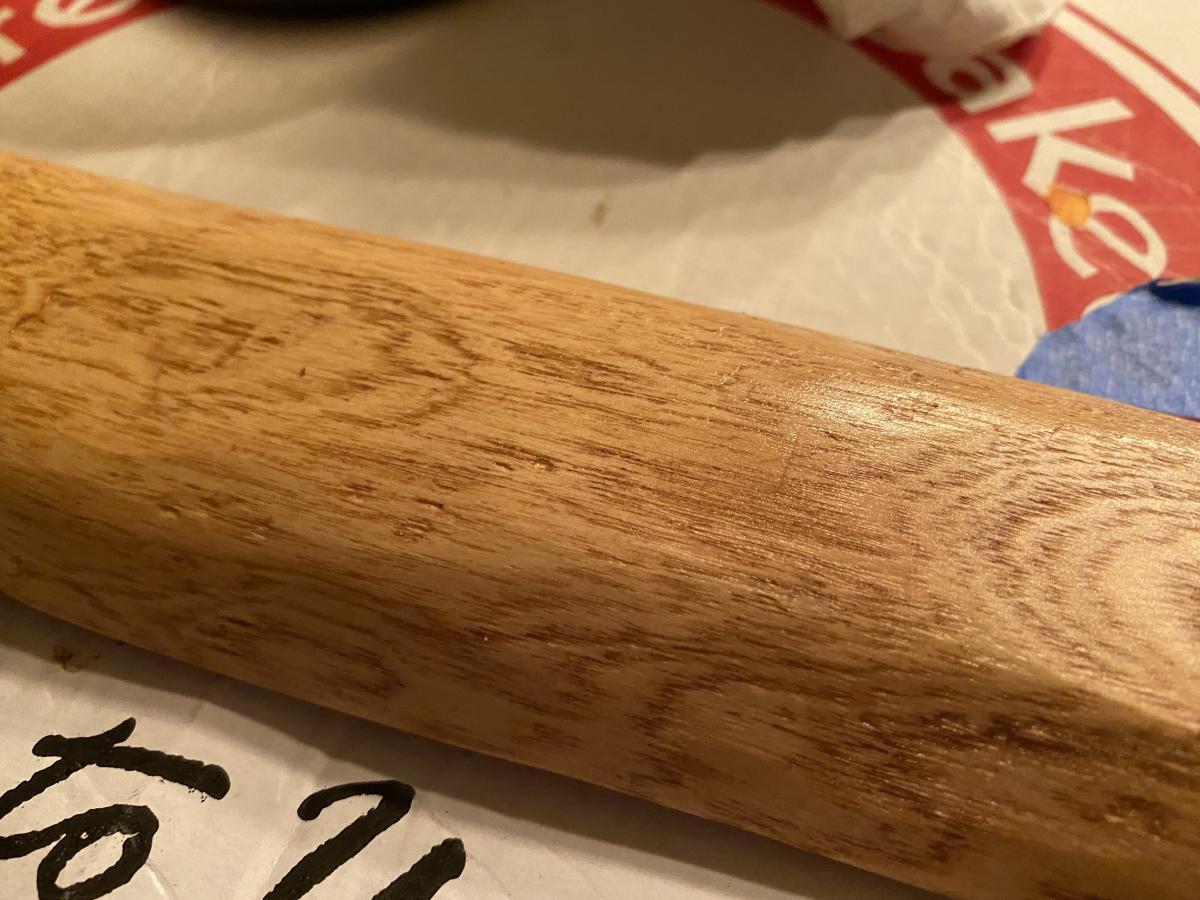
Because I decided to have the curved outside of the branch face down, I had to flatten out the bottom with the drawknife so it would sit safely and not spill over, pouring hot wax on whoever was nearby. Lucky bonus was the figured grain popping through where I flattened on both ends.
After sanding it to my liking, I made sure it sat flat and a candle fit in each of the holes. It was ready to finish! The look of it made me want to try Real Milk Paint’s Dark Half (pure Tung Oil with some pigment and cut with all-natural citrus solvent). As I applied it I was happy to see that the darkness of the product really brought out the darker grain and made it pop as I hoped it would.
As a New Yorker, I have found that pizza boxes make the best drop clothes for finishing smaller items. Open the box up for larger pieces!
I will likely keep this piece or gift it, the happiness for me is usually passing the things I make on.
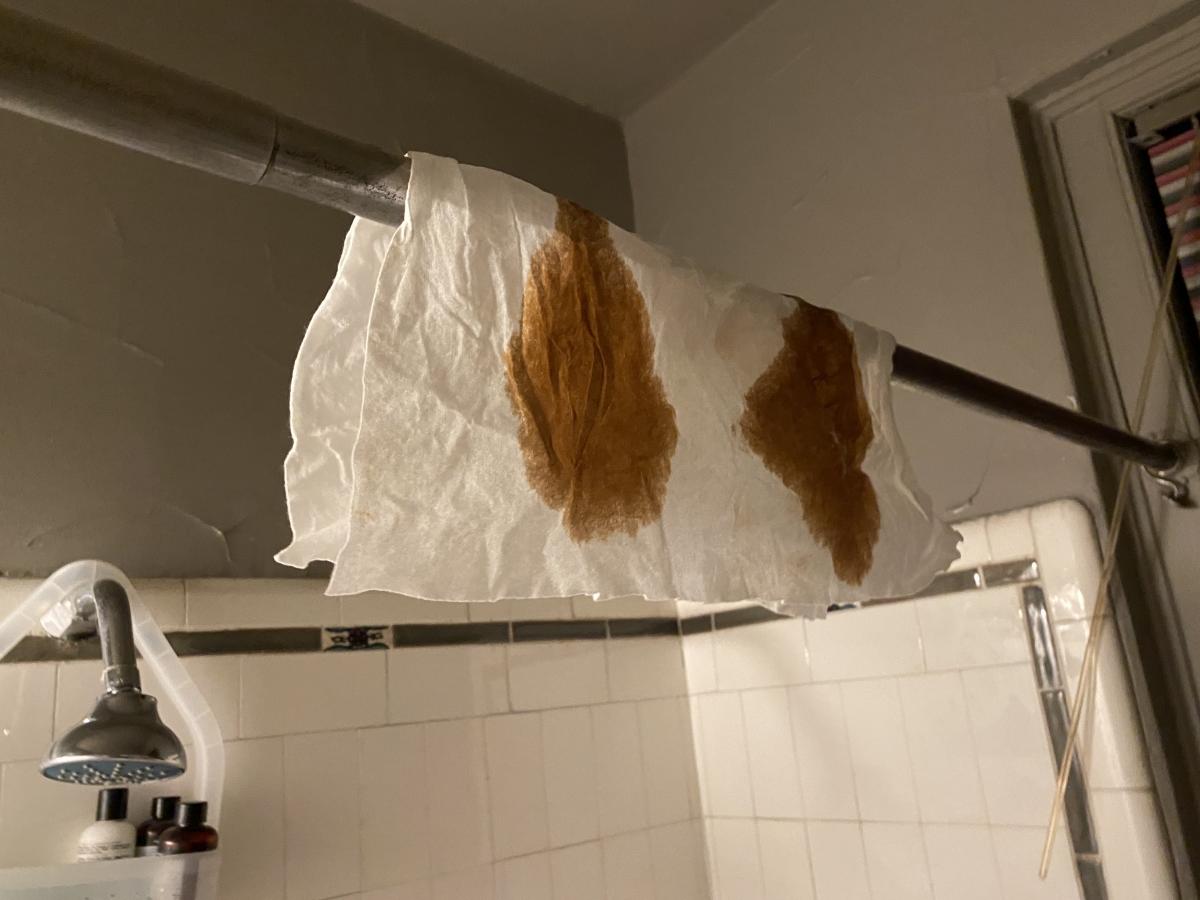
And of course safety always. When using any finishing oil that is flammable, make sure it dries opened up somewhere non-flammable, like your tiled bathroom hanging over the shower rod.


 Joel's Blog
 Built-It Blog
 Video Roundup
 Classes & Events
 Work Magazine